エントリーのカスタムフィールド
エントリーの作成画面にカスタムフィールドを作って、独自の情報を持たせることができます。テキスト、画像、ファイル、地図などエントリー毎に項目が作れます。
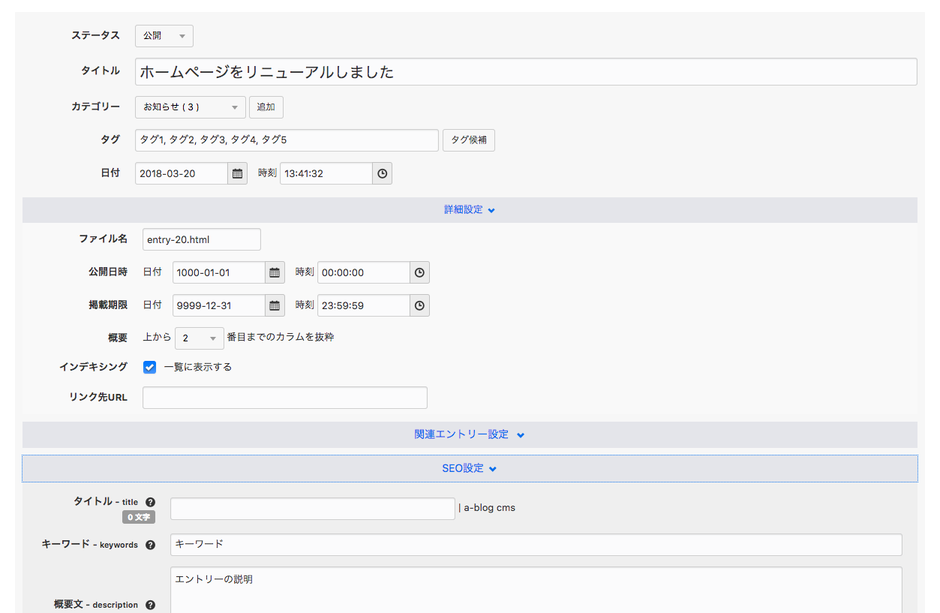
エントリーのカスタムフィールドはエントリー作成画面にあります。カスタムフィールドを追加するには以下のファイルを利用中のテーマフォルダに置いてください。
タイトルやカテゴリーの下にカスタムフィールドを表示したい場合
/themes/利用中のテーマ/admin/entry/field.html
ユニットの下にカスタムフィールドを表示したい場合
/themes/利用中のテーマ/admin/entry/field_foot.html
エントリーのカスタムフィールドを作る
/themes/利用中のテーマ/admin/entry/field.html にエントリーをピックアップするチェックボックスのカスタムフィールドを追加してみましょう。
<label class="acms-form-checkbox"><input type="checkbox" name="pickup[]" value="true"{pickup:checked#true} /><i class="acms-ico-checkbox"></i> ピックアップ</label>
<input type="hidden" name="field[]" value="pickup" />
サイトに表示させる
エントリーのカスタムフィールドはEntry_Fieldモジュール、Category_EntryListやCategory_EntrySummary、Entry系モジュールのentry:loop内で使うことができます。
Entry_Fieldモジュールで表示
<!-- BEGIN_MODULE Entry_Field -->
<p>{pickup}</p>
<!-- END_MODULE Entry_Field -->
Category_EntryListやCategory_EntrySummaryモジュールで表示
entry:loop内にエントリーのカスタムフィールドを書きます。
<!-- BEGIN_MODULE Category_EntryList -->
<!-- BEGIN categoryEntryList:loop --><!-- BEGIN categoryUl#front -->
<ul class="txtListMenu"><!-- END categoryUl#front --><!-- BEGIN category:loop -->
	<li><a href="{categoryUrl}">{categoryName}</a><!-- BEGIN entry:veil -->
		<ul class="txtListMenu"><!-- BEGIN entry:loop -->
			<li><a href="{entryUrl}">{entryTitle} {pickup}</a></li><!-- END entry:loop -->
		</ul><!-- END entry:veil --><!-- END category:loop --><!-- BEGIN categoryLi#rear -->
	</li><!-- END categoryLi#rear --><!-- BEGIN categoryUl#rear -->
</ul><!-- END categoryUl#rear --><!-- END categoryEntryList:loop -->
<!-- END_MODULE Category_EntryList -->
Entry系モジュールで表示
モジュールIDの設定して、entry:loop内にエントリーカスタムフィールドを記述してください。
<!-- BEGIN_MODULE Entry_Summary id="testID" -->
<!-- BEGIN unit:loop -->
<!-- BEGIN entry:loop -->

<!-- BEGIN pickup:touch#true -->pickupされています<!-- END pickup:touch#true -->

<!-- END entry:loop -->
<!-- END unit:loop -->
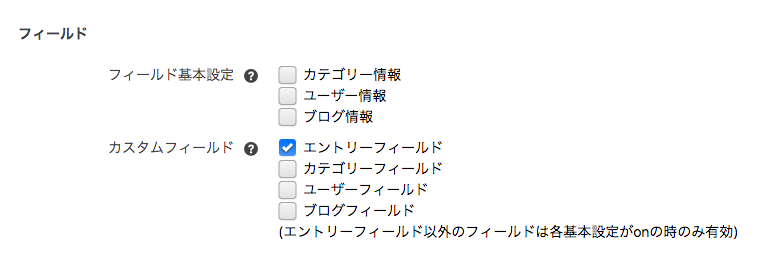
<!-- END_MODULE Entry_Summary -->Entry系モジュールでエントリーのカスタムフィールドの情報を出すときはモジュールIDの表示設定にカスタムフィールド エントリーフィールドにチェックをしてください。

モジュールのエントリーフィールド出力設定
